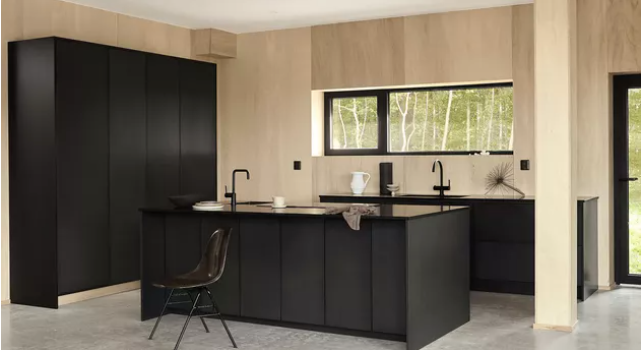
People say the heart of the home is the kitchen! We agree and we could also add, that the heart of the kitchen is the countertop.
There are many different types of countertops but granite and marble are the most popular types of countertops. Granite is one of the hardest materials and is the stone of choice for kitchen countertops, as it is resistant to most acids, very durable, and easy to maintain.
Properly installed granite countertops are not likely to crack, but if they do, you can easily restore them with HIMG® Light Cure Acrylic Repair Kits, a non-epoxy DIY Light cure material that gives you amazing results.
Unlike the typical surface repair or filler epoxy, our LCA™ (Light Cure Acrylic) Surface Repair material is non-toxic. Our repair material is made of high-tech, nano acrylic and it is completely safe for food prep areas.
Here’s how to repair granite countertops in 7 simple steps:
- Prepare the surface
- Apply Light Cure Acrylic
- Add Curing Strip
- Cure with LED light
- Remove curing strip
- Sand
- Polish
These detailed granite countertop repair tips and tricks below are based on the use of our LCA™ Clear Repair Kit, but if you've ordered a color kit, they'll still come in handy for you.
These tips are great for marble countertop repair and other stone surface repairs and more.
Just open up your DIY granite countertop repair kit and get ready to begin. Check that you have everything that’s included in the kit (repair material, micro-tip, application tool, sand paper, LED light, polishing paste, directions and our new LED light stand).
Clean the damaged area of any debris or residue, take the syringe of material and screw on your micro-tip.
*Tip #1- Make sure the applicator tip is all the way screwed on and secure.
Tip #2 - Do not overfill. This is key. You only want to fill the damage to about 105%. Too much material will require excessive sanding. If you do happen to overfill, you can use the syringe to suck up some of the extra material, suction will occur if you pull the back piece of the syringe in slowly. Once you've applied the perfect amount of material, like the instructions say, get your curing strip ready.
*Tip #3 - The curing strip works great and is an essential part of the process, but in case you misplace the curing strip or you need an additional strip for an edge repair, clear packing tape is a great substitute. Take a piece of tape, about 6 inches long and fold, or sandwich two pieces together, sticky side to sticky side and voila', you have a brand new curing strip*
After placing the curing strip into place, use the wooden application tool to smooth the material flat and get ready to use the LED light to cure.
Depending on the size of your repair this can take between 10 and 12 minutes, sometimes sooner.
*Tip #4 and #5 – If after 10 minutes you believe your product hasn’t fully cured (If it feels sticky to the touch) I have 2 tips for you. Tip one; try wiping the cured area with a little rubbing alcohol. Sometimes a sticky layer will occur and the rubbing alcohol will remove it right away. In the event that this does not work for you, more than likely you’ve received a faulty LED light. If that is the case, and this is the next tip, contact us! The LED light should glow bright blue when switched on. The blue light is a specific frequency of light and that's what cures the LCA™. Sometimes our LED lights can become distressed or compressed in transit, causing the battery to be drained. If this happens, we’d be happy to send you replacement LED lights at no extra cost.*
So you've applied the material, you've cured it with the light and removed the curing strip. Now it’s time to sand.
*Tip #6 - If you do need to sand, use a little water and gentle pressure, until little or no surface variation is felt. Sometimes it helps to flick the back of the sandpaper before starting to remove any trapped dust. If you feel like you used the perfect amount of material skip sanding and apply a little polishing paste. This will shine up the surrounding area and leave things looking nice and shiny.*
Once smooth, apply the Polishing Paste. Polishing Paste is the last step of the process and a nice dab is all that’s needed. Use enough paste to moisturize and shine. This step should take no more than 1 minute.
And you’re done!
Congratulations! You've successfully repaired your chipped, nicked, or cracked GRANITE COUNTERTOP.
If you prefer to see a video, watch the one below or see more videos here.


